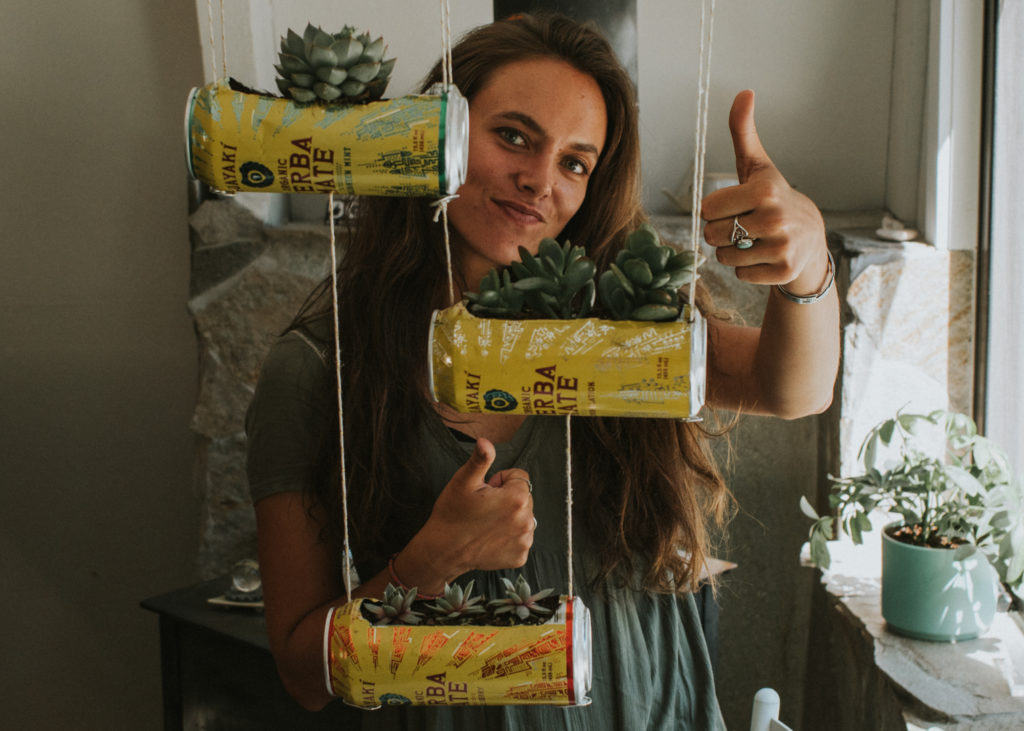
How to make your Guayaki cans "Come to Life"
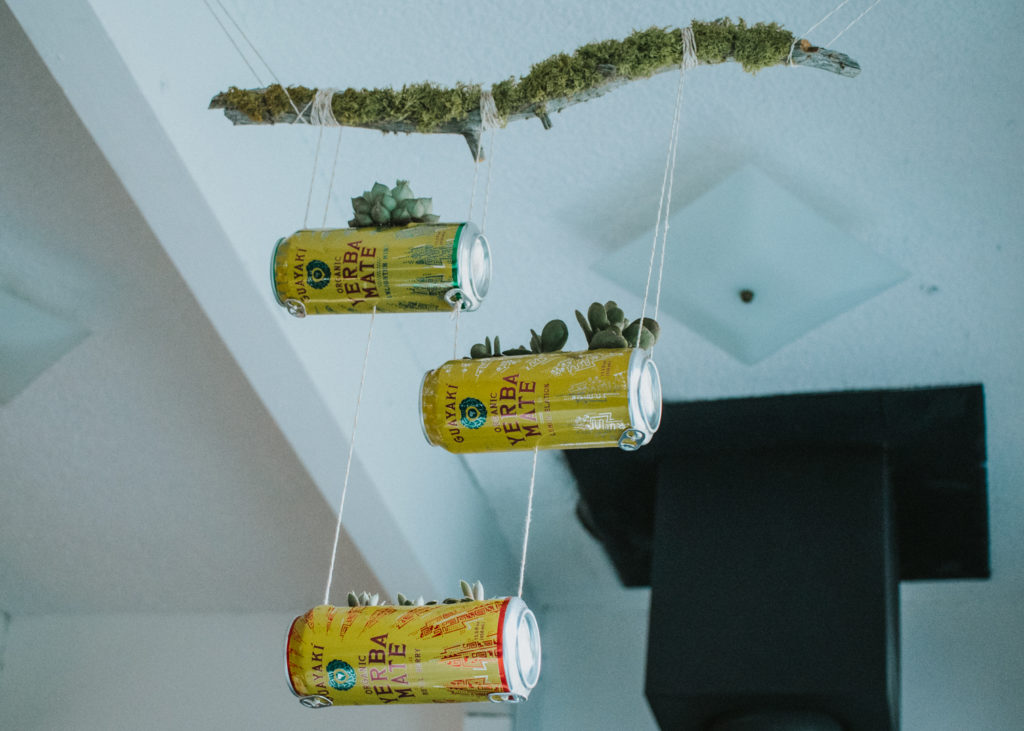
‘Tis the season for crafting and home improvement and gardening. We recently moved into a new home and with coronavirus keeping us more stationary than usual, we’ve been focusing on fun ways to liven the place up. The most recent project: turning our empty Guayaki cans into an upcycled hanging planter!
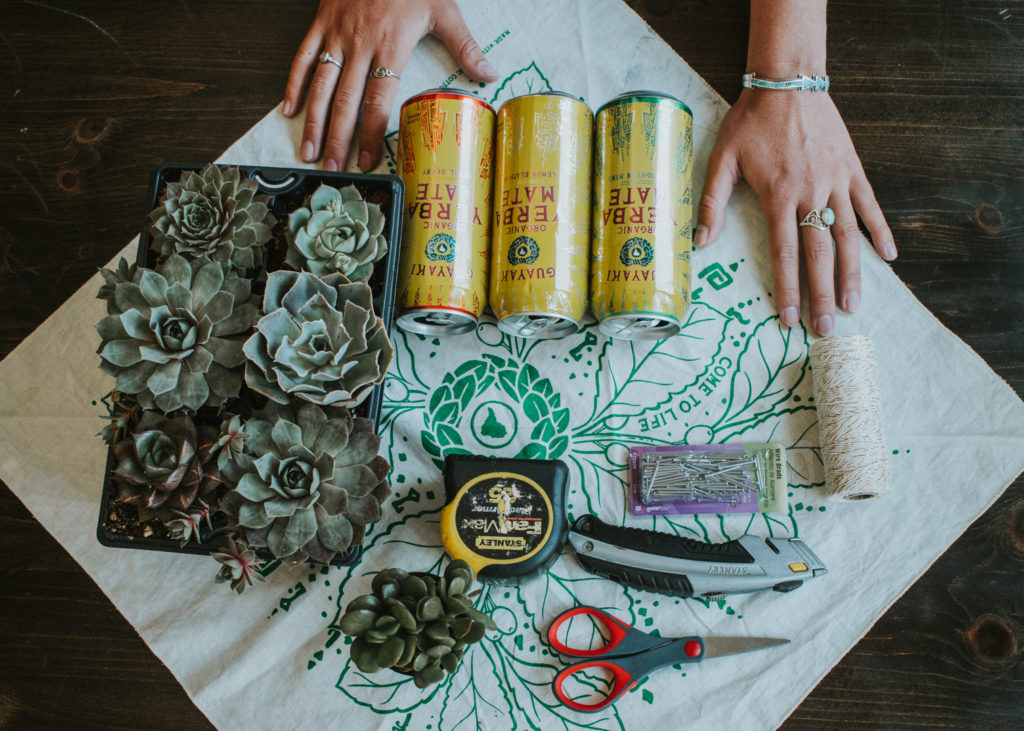
What you’ll need:
- 3 empty Guayaki cans
- String
- Exacto knife
- Nail or screw
- 7 extra can tabs
- Scissors
- Measuring tape
- Succulents
- Potting soil
- A cool stick
STEP 1: Cut the cans
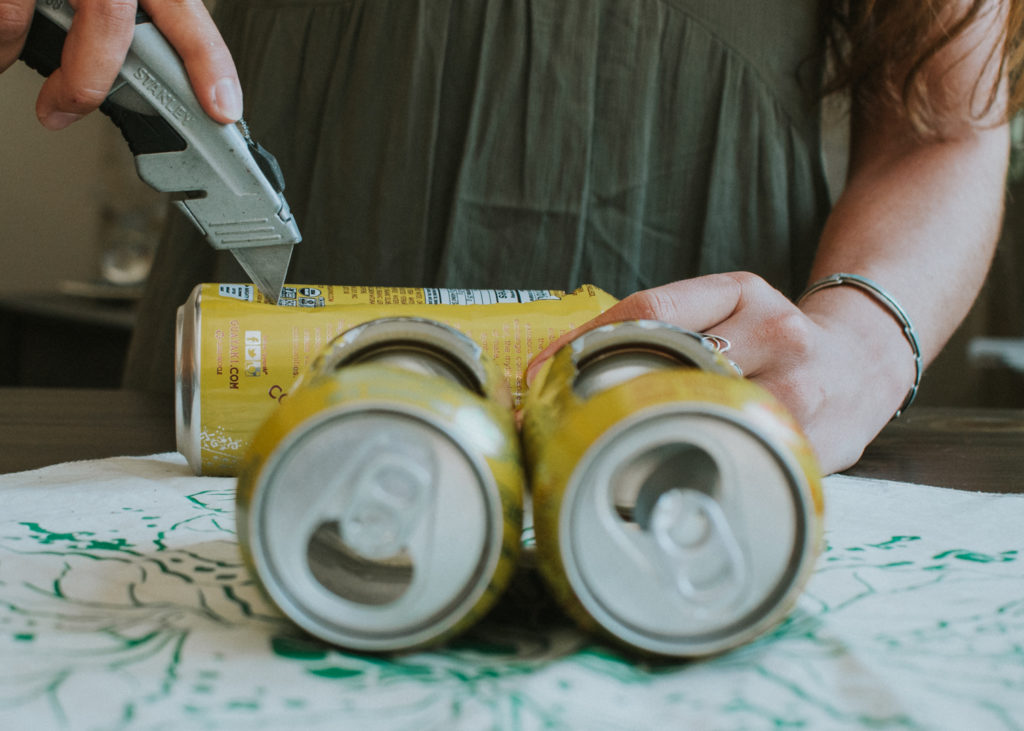
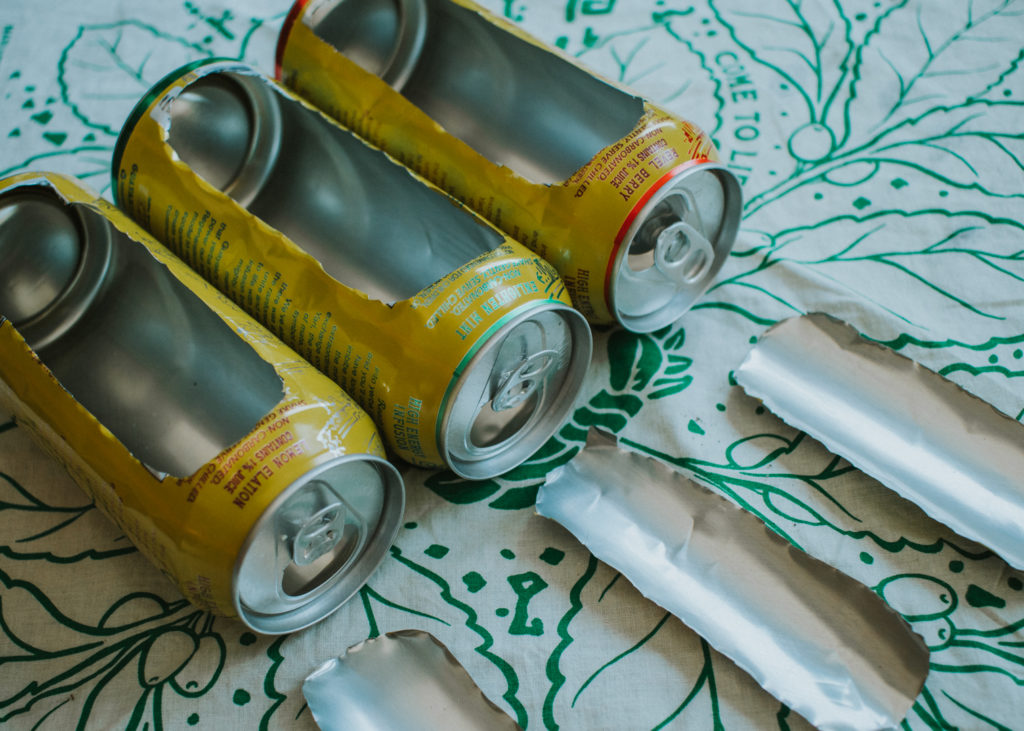
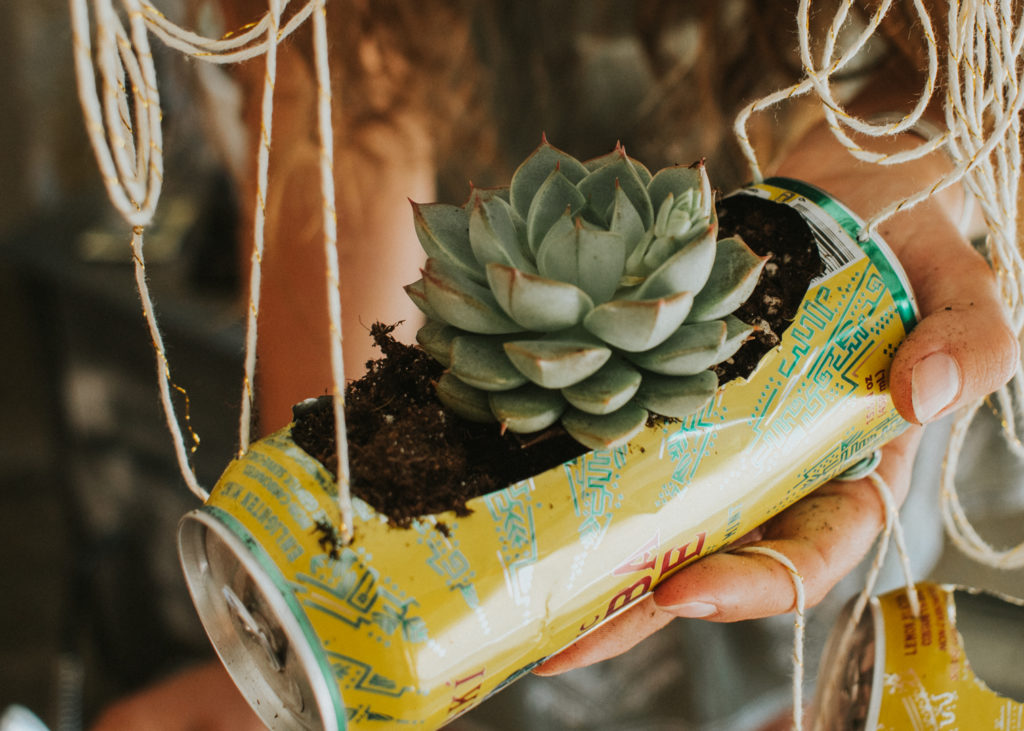
Lay the cans sideways and cut out a panel where your plants will go. The nutrition label is a good guide to cut around.
STEP 2: Pop the tabs back into place
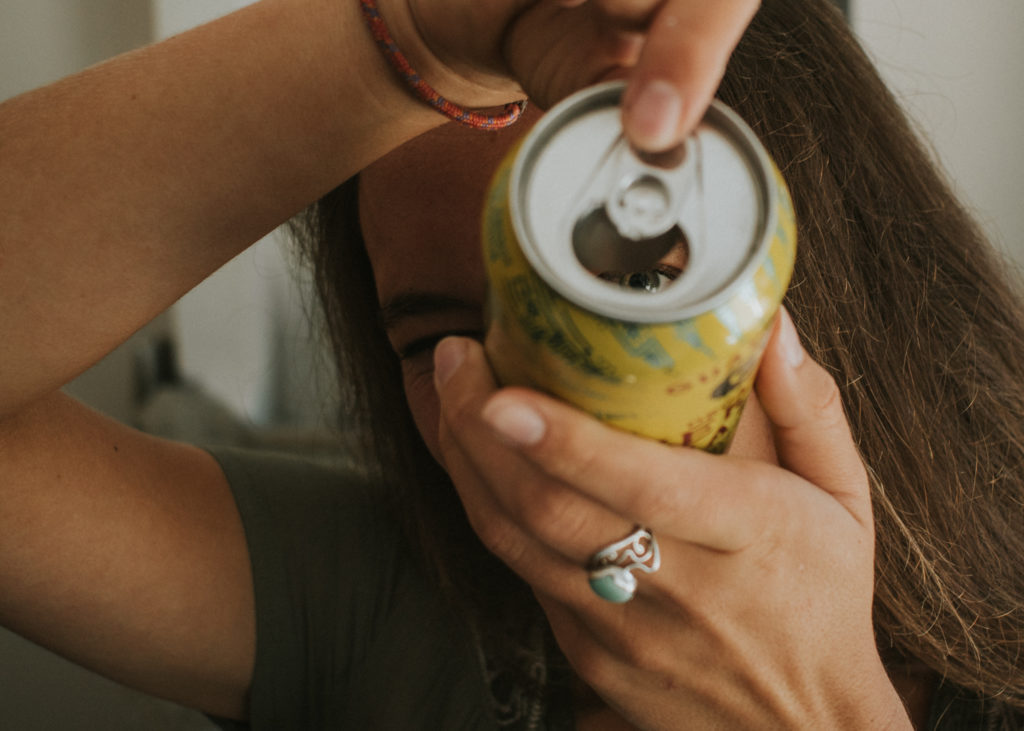
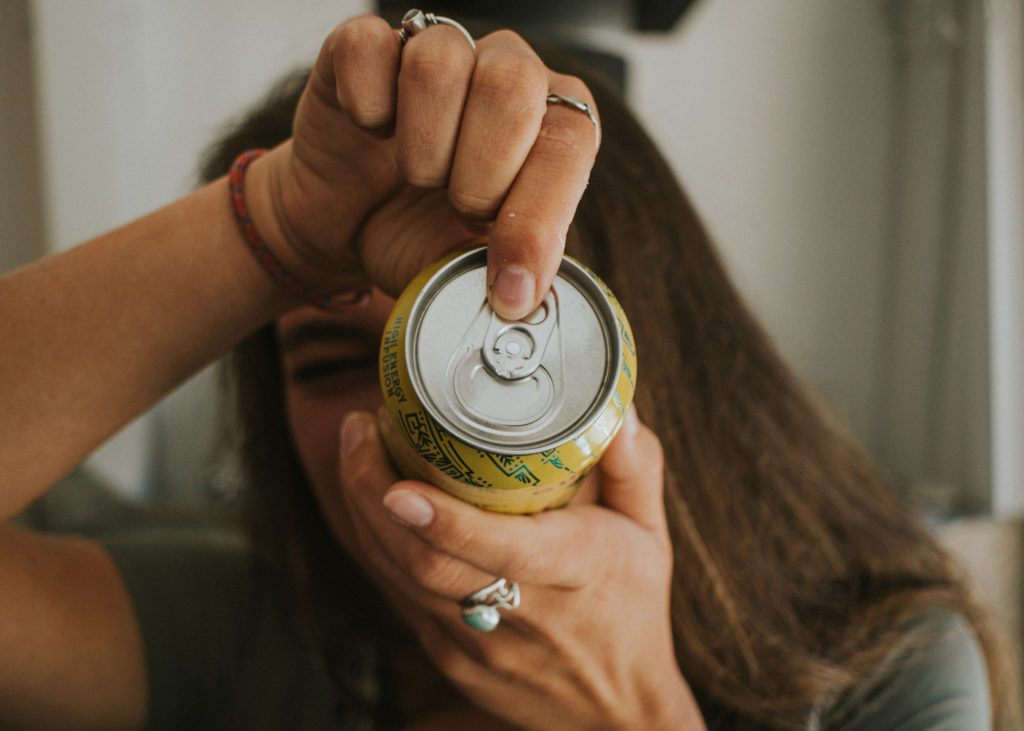
If you’re like us, you drank the Yerba Mate to fuel your crafting. Now you have to pop the tabs closed again so soil doesn’t come out. They hold pretty well just by pushing them back into place with your finger.
STEP 3: Envision how you want it to hang
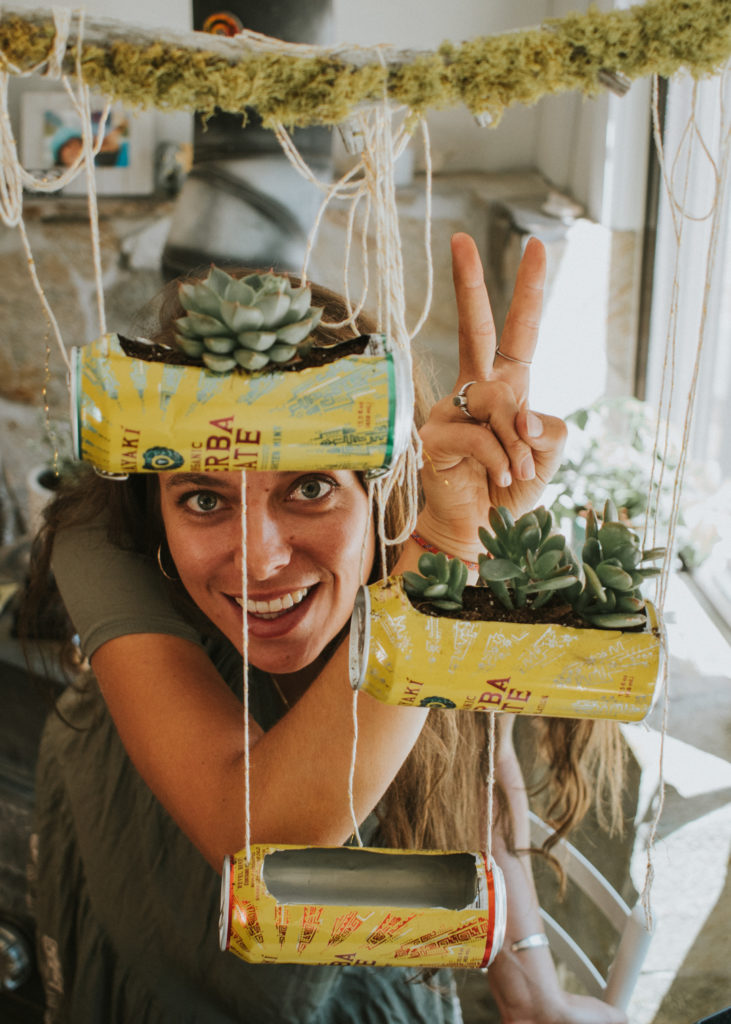
This is the time to think through how your cans will hang, plan out your hanging system, and measure approximate string lengths that you will need. A sketch is encouraged. We staggered ours as you’ll see more clearly in Step Six.
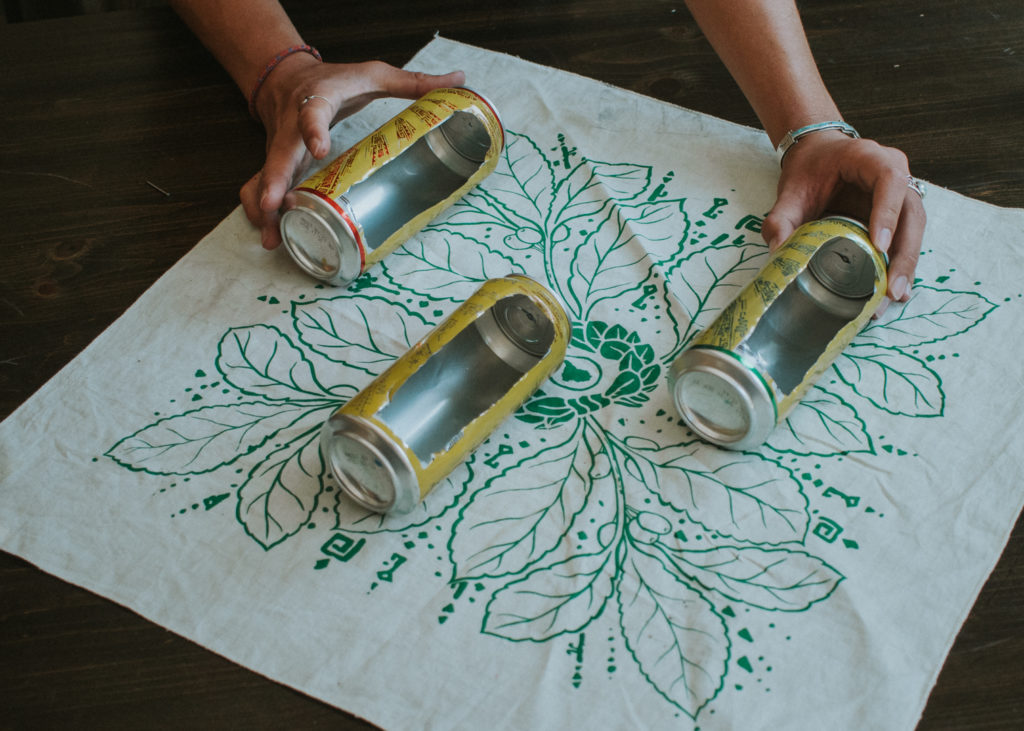
STEP 4: Poke your holes
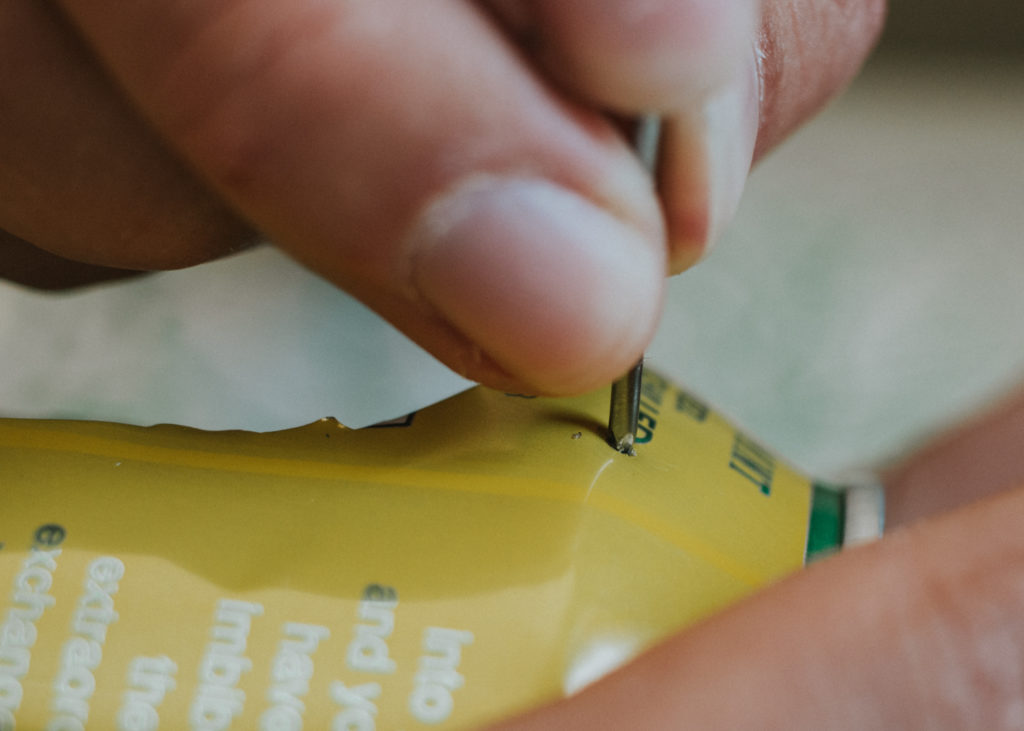
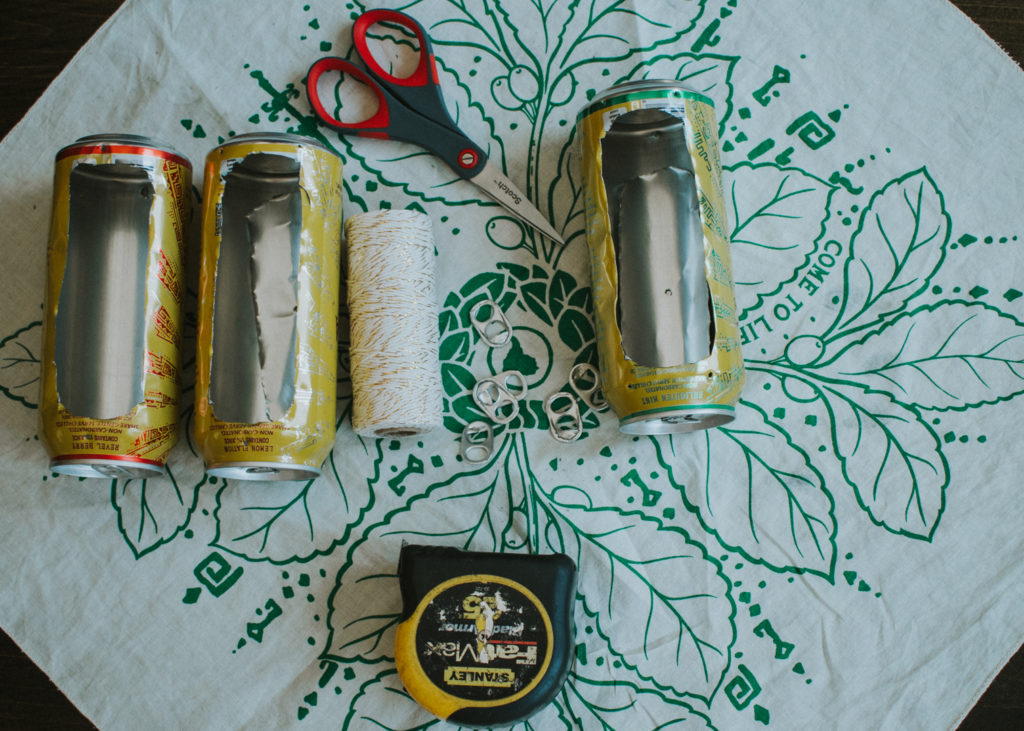
Use the pointy end of a nail or screw to poke the holes that you will pass your string through. Try to poke them along the stronger ridges of the can to increase integrity. Also, poke through the middle of the panels you cut out. You will use those, and the extra can tabs, to reinforce the holes and make sure knots don’t pull through.
STEP 5: Thread the string

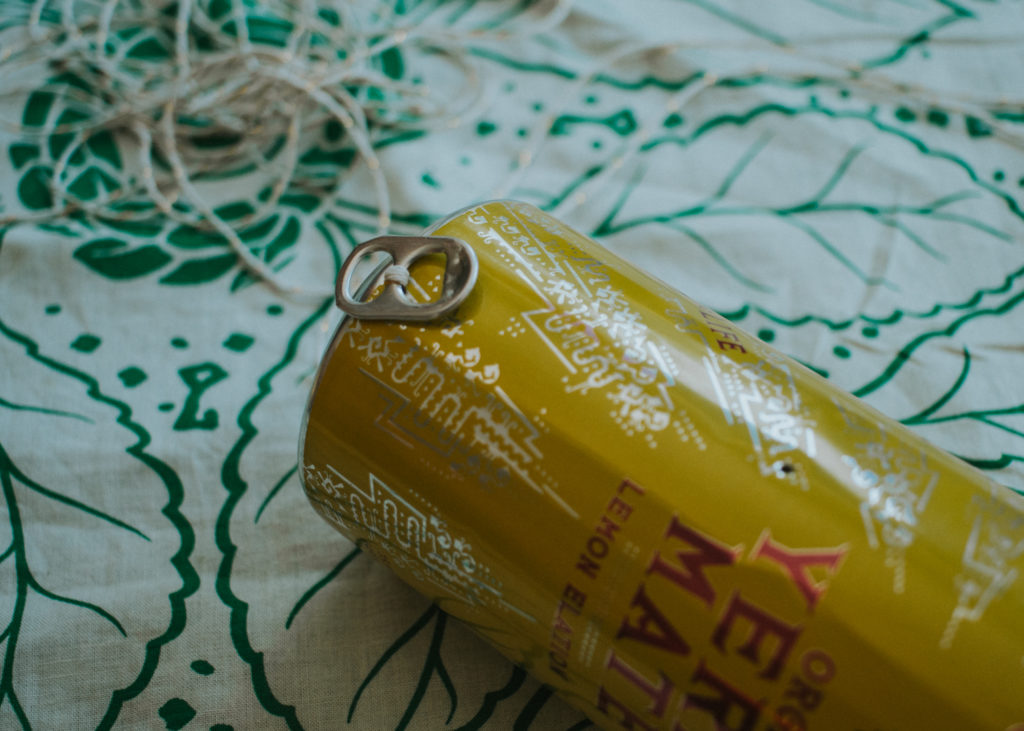
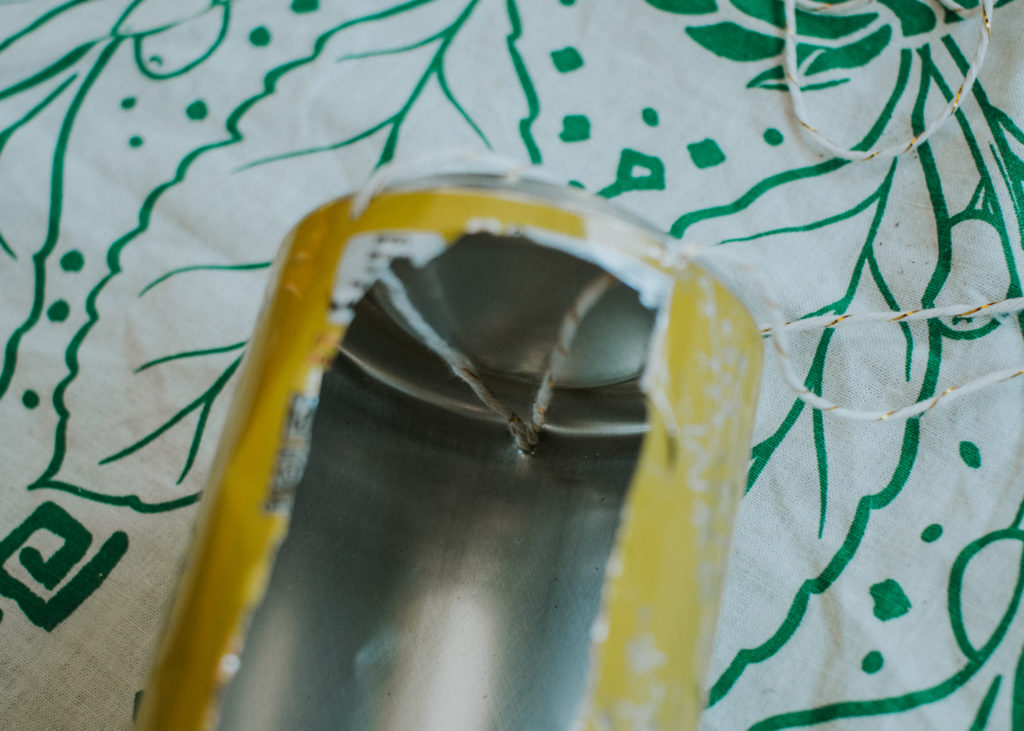
Refer back to your sketch from Step 3 and thread the string through accordingly. We used a white cotton craft string with gold running through it, but I would maybe suggest something stronger with an easier tip to thread, like a hemp cord.
Remember to wrap around the tabs or go through the panel on one side of the hole to reinforce it. Leave yourself plenty of extra slack. If you have a hard time getting it through, try some spit?…or try guiding it with the tip of a nail!
STEP 6: Hang up the cans

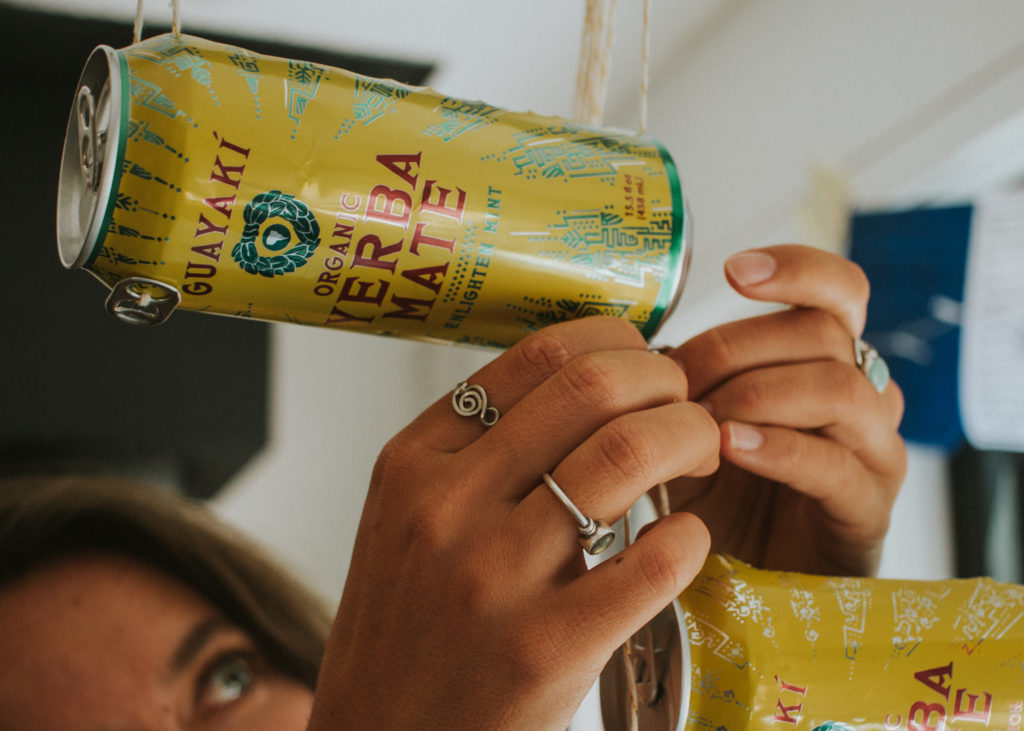

We live in Tahoe, California with tons of this awesome bright green moss on the trees, so I snagged a cool backyard stick. Have a fun adventure outside and find your own version!
Attach your cans to said anchor and even out the lengths so everything is in line.
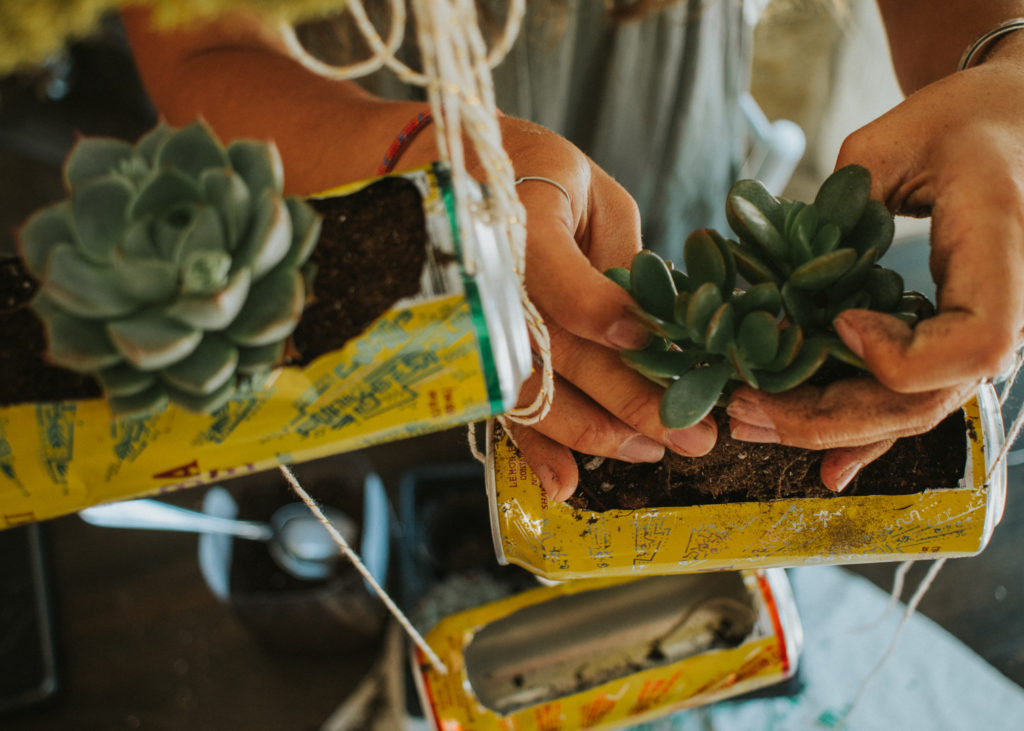
STEP 7: Plant your succulents
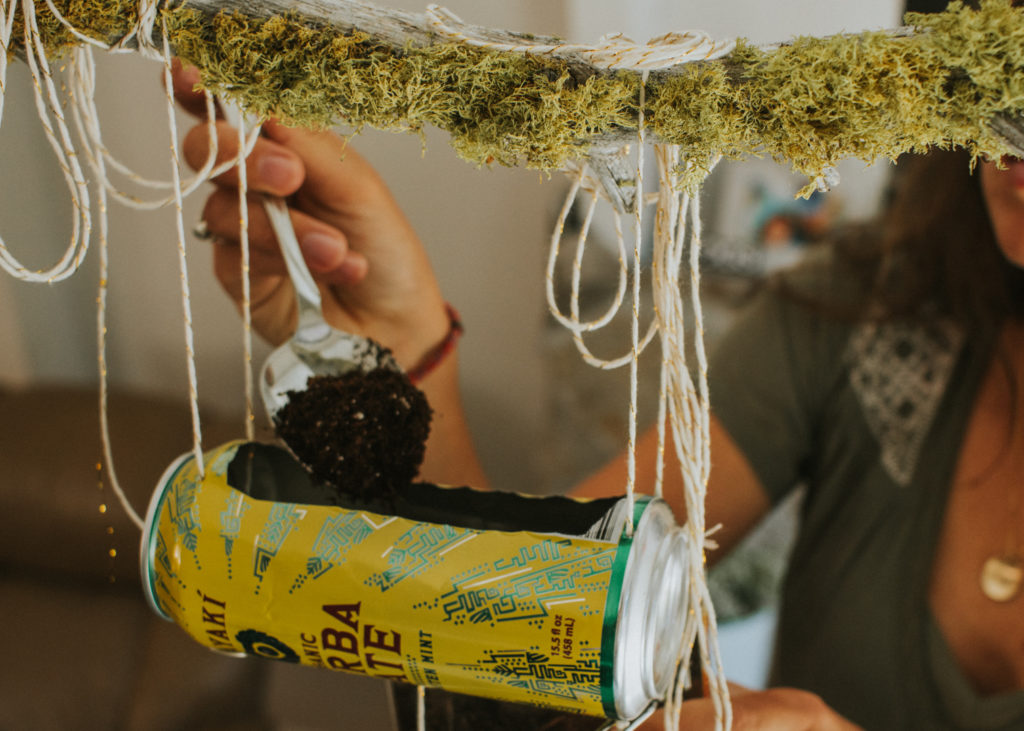
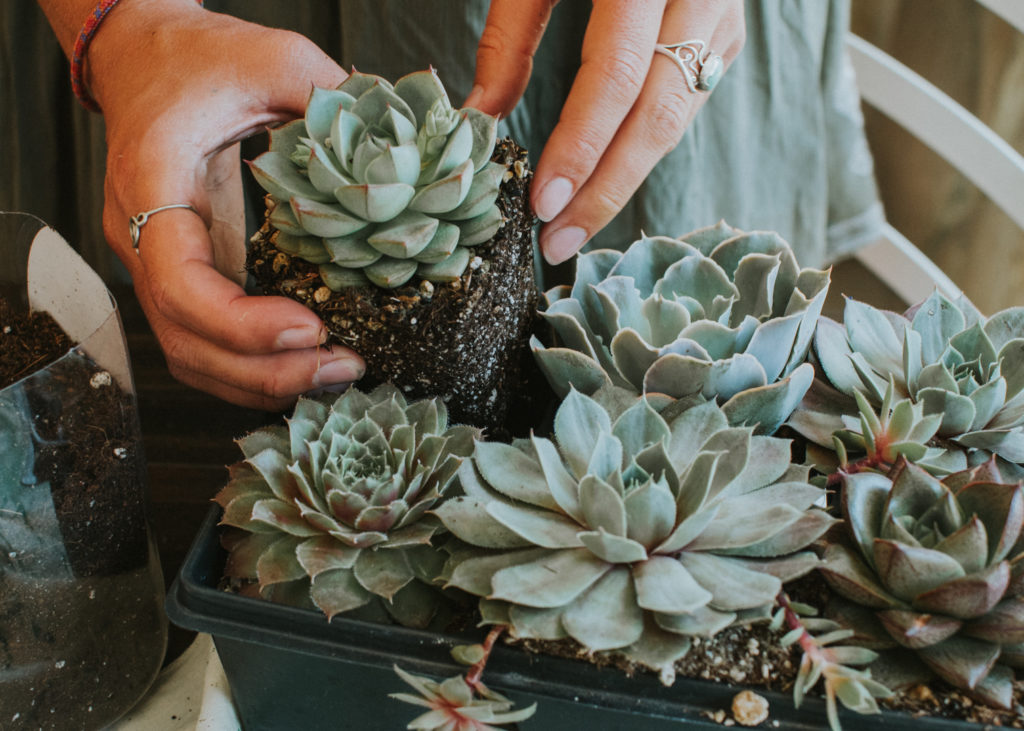
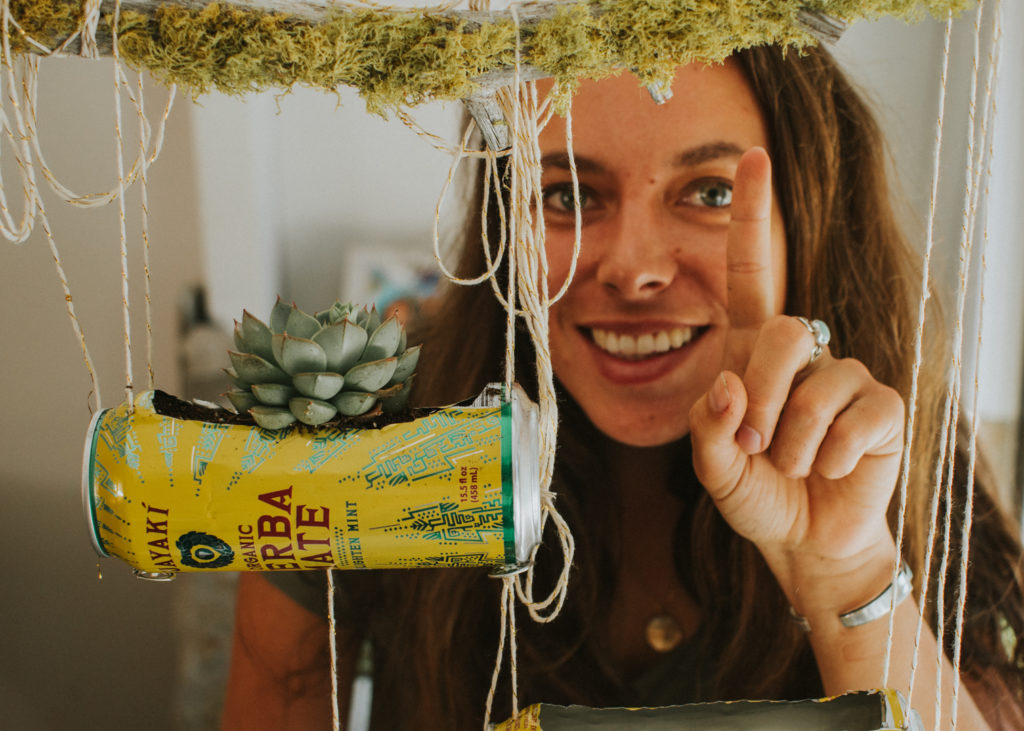
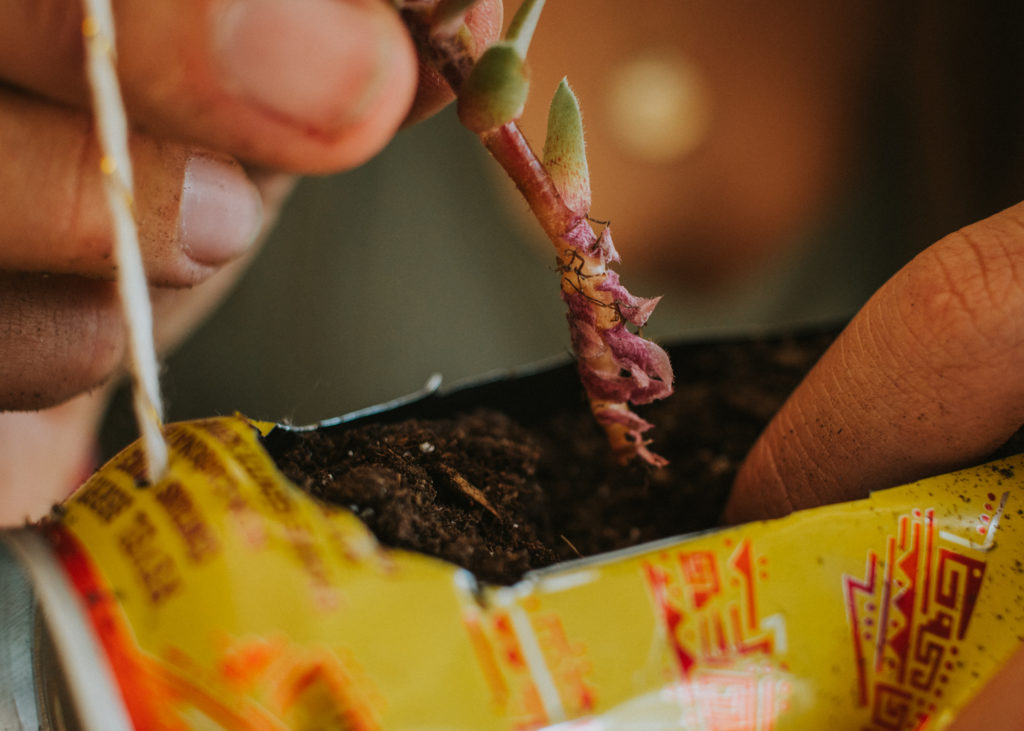
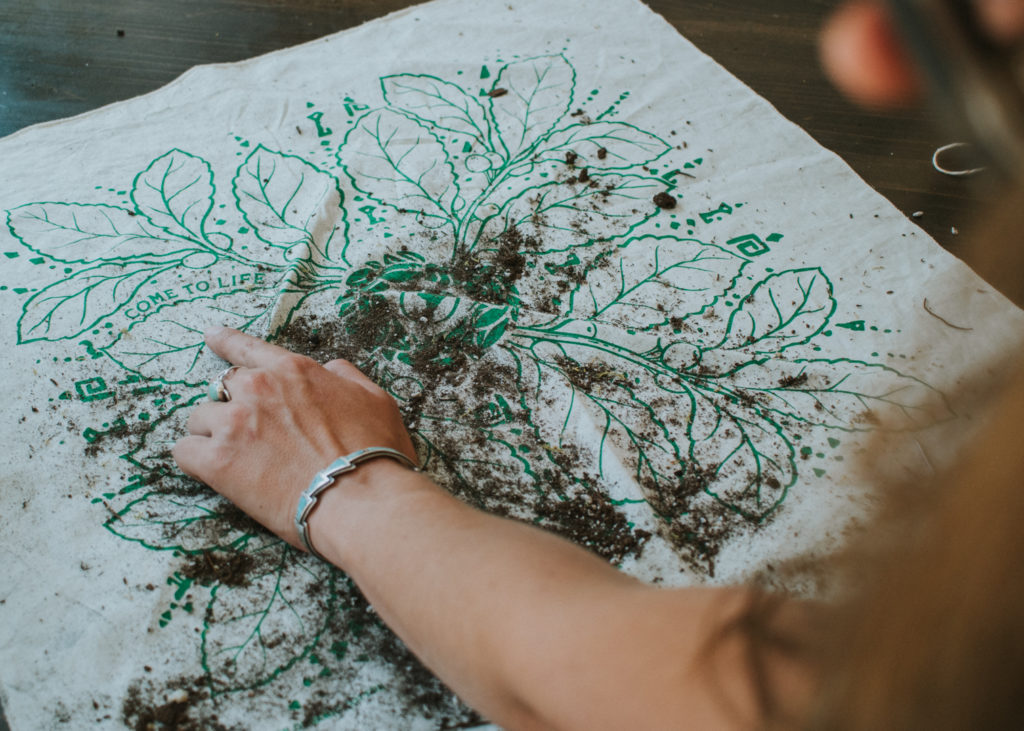
The fun part: getting your hands dirty! Fill in the can with potting soil as needed and plant your succulents.
ONE…
TWO…
THREE…
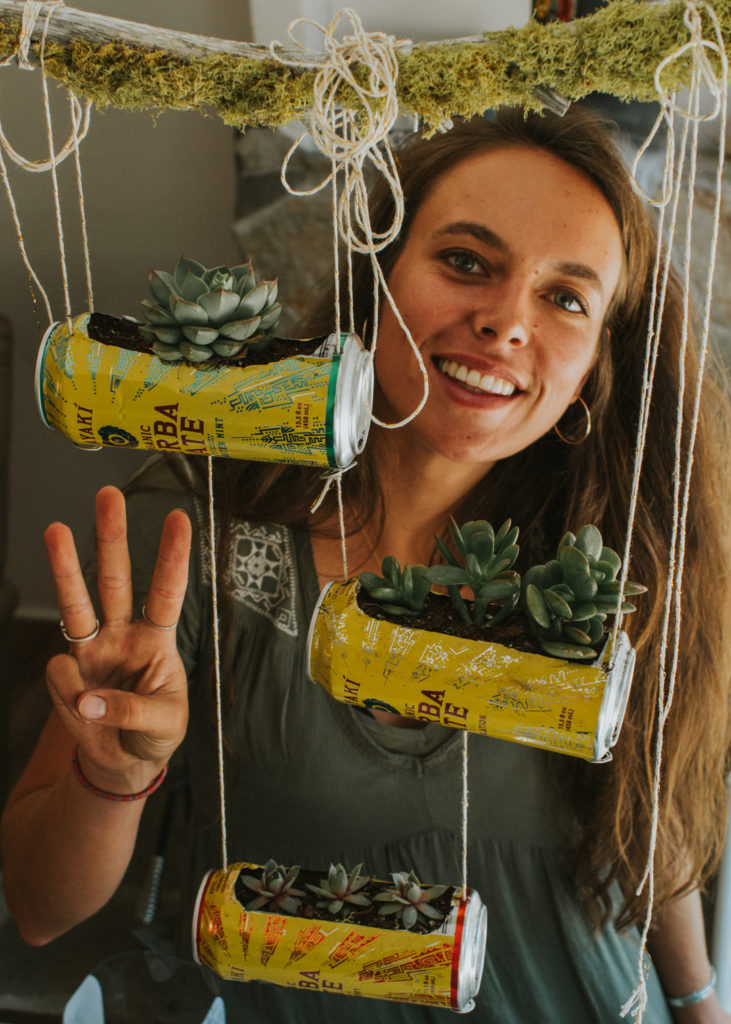
STEP 8: Hang your masterpiece
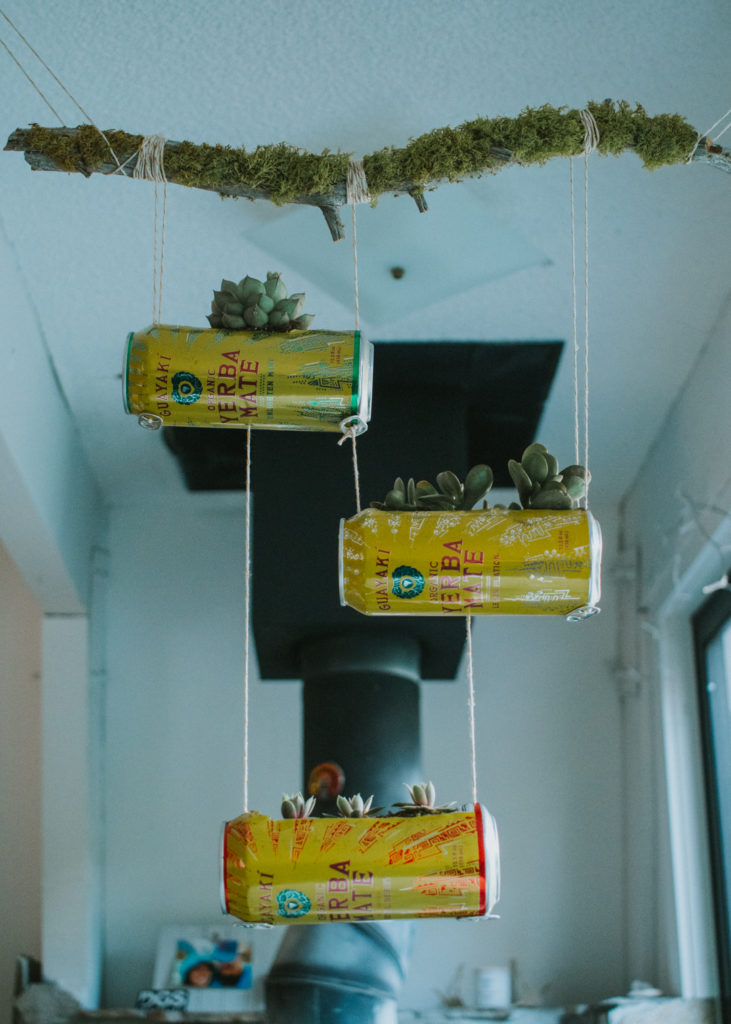
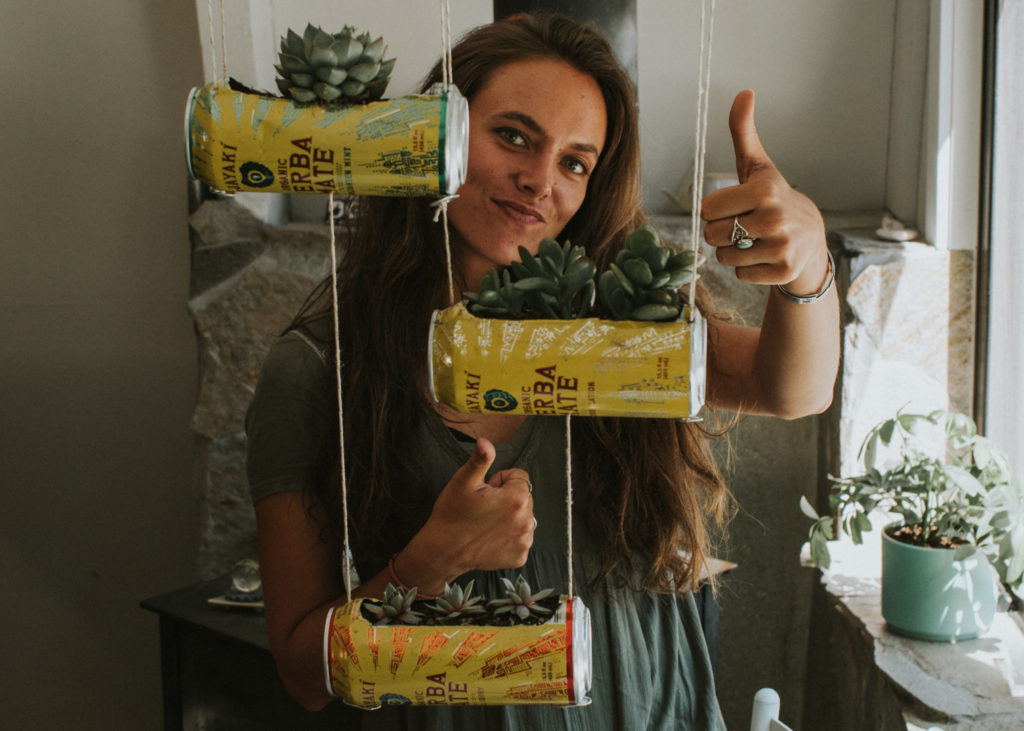
Wrap some more string around the points that the cans are attached to, bring them together and tie an overhand knot as the masterpoint.
Hang from a hook, give your new succulent babies a touch of water, and enjoy your new upcycled planter!
Artist: Taylor Zehren, Co-Founder & Director of Do Good Shit
Photographer: Thor Retzlaff, Co-Founder & Director of Do Good Shit
Please continue to follow us, share our mission and donate to Do Good Shit as you are able!

